Showing posts with label chocolate. Show all posts

Friday, February 8, 2013

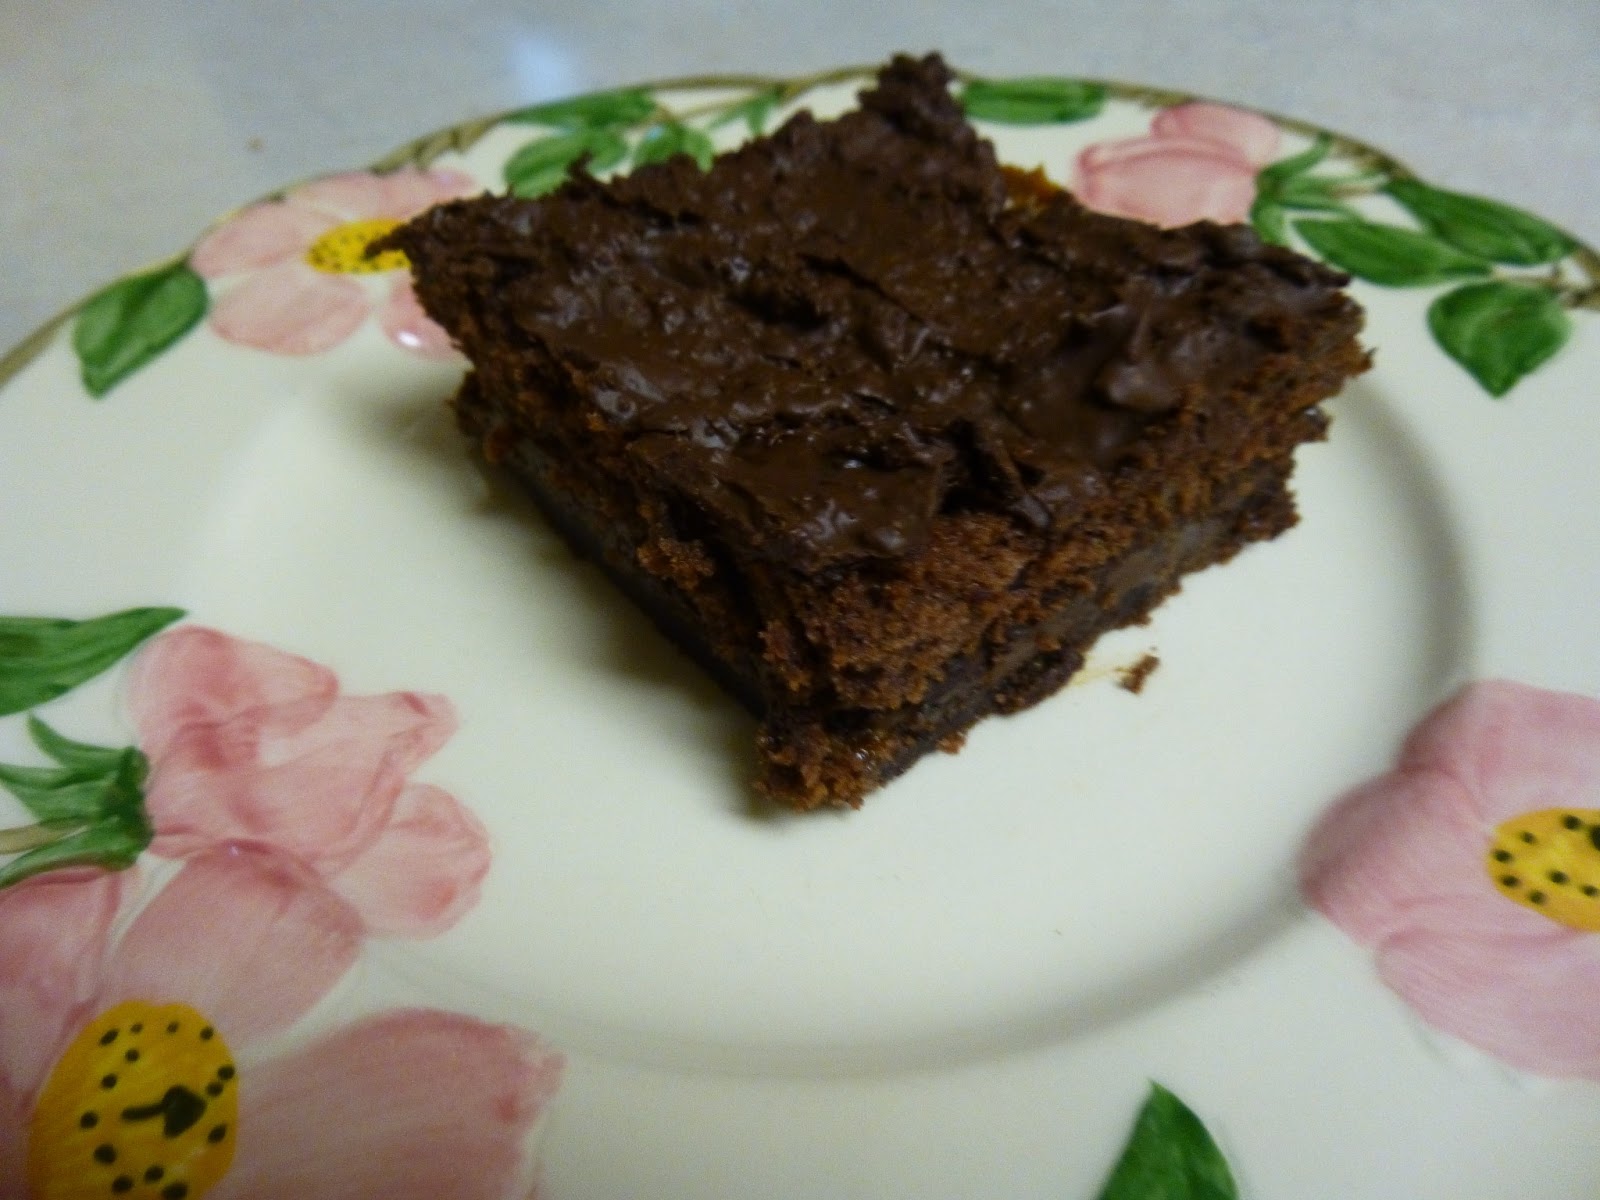
Turtle Cake


Today I'm linking up with Sharon Fleming's Around the Table blog and she is sharing a great Valentine's Day recipe just in time for February 14th! To read the directions, head on over to Mrs.Fleming's Blog!! Make sure to take a look around at all the great recipes, advice for meal times, and some great giveaways too! To learn more about Mrs. Fleming and her ministry, click here. Enjoy!


Turtle Cake
Ingredients:
1 14 oz. bag caramels
5 oz. evaporated milk
1 box (18.5 oz) Devil's Food cake mix with pudding (get one that calls for oil) (and ingredients called for in cake mix)
3/4 cup butter or margarine, softened
12 oz. semi-sweet chocolate chips
2 cups chopped walnuts or pecans

And since it's Valentine's Day, wouldn't it be cute to make a card like this one to accompany your turtle cake!


Happy Valentine's Day!!!


Friday, February 1, 2013

Valentine's Day Cake Pops


Today I'm linking up with a fabulous blog called Around the Table. This blog has articles about improving family meal times, conversation starters, and great recipes too!  (If you'd like to see a previous post with my interview on "Around the Table" click here.)


 Happy Valentine's Day! I've always loved this holiday, mostly because I usually get a lot of candy and chocolate, especially from my Grandma, and I can wear all the pink I want! Well, back to baking...these cake pops are very simple to make and they're a lot of fun to decorate for Valentine's Day! This is one of those recipes where all you need is a little faith and pixie dust...NOT! But you may want some sprinkles, or if you must have some pixie dust, make sure to use edible glitter dust!


Because cake pops are tricky to present, I decided to take them off the
stick and put the cake pops on a little tray. 

Ingredients:
-1 Betty Crocker cake mix (and ingredients called for on the box)
-1 container of vanilla frosting (or your favorite flavor!)
-1 package of red candy melts (these are typically found at a craft store such as Micheal's)
-sprinkles! (red,white, pink, etc.)
-lollipop sticks
-foam block for drying and displaying cake pops

Directions:
1) Bake cake according to package directions. Let cool.
2) Once cake is cooled, crumble cake into a fine mixture using your hands.
3) Pour crumbled cake into a large bowl and mix in 3/4 of a container of vanilla frosting.
4) Mix with a spoon or your hands until thoroughly combined.
5) Melt candy melts according to package directions. Dip lollipop
sticks in melted candy melts just slightly and push inside the cake
ball. This helps secure the stick in the cake ball. Place in the
fridge for about 15 minutes to harden.
6) Dip and coat hardened cake balls in candy melts and tap stick
against the side of the bowl to shake off the excess. If desired, dip
cake pop into sprinkles until covered.
7) Stick into the foam block to dry. Enjoy!

P.S. Another way to do this, is to buy a cake pop pan!
Here is a link to another cake pop recipe!

An accidental rose pop! (The pop got dipped at a wrong angle and it turned out like this!)
As to how to make one of these, I don't really know. :)


In my heart there rings a Melodi...^
Happy Valentines Day!!!


Thursday, October 4, 2012

Monster Cookies & a Makeover


Hi! So here I am after almost 3 weeks without posting! That's definitely a new record which hopefully I won't break anytime soon! I also have a "NEW LOOK" thanks to Heidi over at Bits of Sunshine
I absolutely love it and I hope you guys do too!  Thank you sooooo much Heidi, for all the time you spent on my blog.  I'm really happy that I have a new, original design!
Thank you!

 I wanted to post something worthy of this new design, so I whipped up a batch of Ree Drumond's monster cookies!  

The Ingredients
Here's the recipe! It's very similar to Trail Mix Cookies.
My blog really needed a makeover (I'm so thankful I got one), but these cookies don't!
How will these cookies turn out? Stay tuned for the next episode... picture.


Ta-Da!

So, what's changed on my blog besides the new updated design?!?!?!  If you take a look at the bottom, I now have some buttons so you can pin, facebook, tweet, or stumble it. There's also a handy dandy RSS Feed button which means that my blog can be delivered right to you every time I post a new recipe. So to sum all of this up, I basically have a new design (which I love!) along with the same amazing, simple recipes! 

And not to mention, I also have a new design for my GB2 slogan!  If you look carefully at the spoons you'll see a cross! =)


Friday, June 8, 2012

Graduation Caps

Who would have thought that you could make such a cute
graduation cap out of candy?!?!
I think we have a new trend here!
Guess what? Did you know that there are some lucky people out in this world that are graduating? Yup this world...like there is any other world!?!? Anyway, what a great reason to celebrate after all of that hard work! (I finished junior high this year and I'm just a blink away from high school.) We should also celebrate the outfits too, I mean they are sort of cute and you only get to wear them once (or twice or maybe even 3 or 4 times) in a life time.  And why not make them once in your lifetime too, the edible version that is.


The Ingredients

Whoever thought that Reese's could make such a cute hat?
(No worries, I didn't know till about 24 hours ago either.)

My icing looks like a Hershey Kiss and my Reese's cup looks like the bottom of a cupcake.
(It's 10 P.M. and my imagination is...well, very unimaginable.)

You can tell I'm not a fashion adviser/color coordinator...I'm a baker,
although I wouldn't mind being a wedding coordinator one day.  I've already volunteered
to do the job for a number of people, but so far no takers.  I mean really, what's so scary about
a 14-year-old wedding coordinator? =)

Usually the stuff I make tastes better than it looks, but with this little creation it was the other way around. Prepare to be bombarded with ohhhs and ahhhs as you walk through the room with curious onlookers, wondering how on earth you made these.


Oh yes, and it might be helpful to have the recipe while making these. The recipe calls for any colors you would like to use, so I chose green because it was the graduate's school color and I added yellow and brown MMs because they seemed to match!


And because it's a special time of year, I have a special ending line...
God Bless, Go Bake, and God Bless the Graduates!!!

Proverbs 3:5,6 - "Trust in the Lord with all your heart and do not lean on your own understanding.  In all your ways acknowledge Him, and He will make your paths straight."


Related Posts Plugin for WordPress, Blogger...