Showing posts with label guest. Show all posts

Friday, February 1, 2013

Valentine's Day Cake Pops


Today I'm linking up with a fabulous blog called Around the Table. This blog has articles about improving family meal times, conversation starters, and great recipes too!  (If you'd like to see a previous post with my interview on "Around the Table" click here.)


 Happy Valentine's Day! I've always loved this holiday, mostly because I usually get a lot of candy and chocolate, especially from my Grandma, and I can wear all the pink I want! Well, back to baking...these cake pops are very simple to make and they're a lot of fun to decorate for Valentine's Day! This is one of those recipes where all you need is a little faith and pixie dust...NOT! But you may want some sprinkles, or if you must have some pixie dust, make sure to use edible glitter dust!


Because cake pops are tricky to present, I decided to take them off the
stick and put the cake pops on a little tray. 

Ingredients:
-1 Betty Crocker cake mix (and ingredients called for on the box)
-1 container of vanilla frosting (or your favorite flavor!)
-1 package of red candy melts (these are typically found at a craft store such as Micheal's)
-sprinkles! (red,white, pink, etc.)
-lollipop sticks
-foam block for drying and displaying cake pops

Directions:
1) Bake cake according to package directions. Let cool.
2) Once cake is cooled, crumble cake into a fine mixture using your hands.
3) Pour crumbled cake into a large bowl and mix in 3/4 of a container of vanilla frosting.
4) Mix with a spoon or your hands until thoroughly combined.
5) Melt candy melts according to package directions. Dip lollipop
sticks in melted candy melts just slightly and push inside the cake
ball. This helps secure the stick in the cake ball. Place in the
fridge for about 15 minutes to harden.
6) Dip and coat hardened cake balls in candy melts and tap stick
against the side of the bowl to shake off the excess. If desired, dip
cake pop into sprinkles until covered.
7) Stick into the foam block to dry. Enjoy!

P.S. Another way to do this, is to buy a cake pop pan!
Here is a link to another cake pop recipe!

An accidental rose pop! (The pop got dipped at a wrong angle and it turned out like this!)
As to how to make one of these, I don't really know. :)


In my heart there rings a Melodi...^
Happy Valentines Day!!!


Monday, October 15, 2012

Scotcheroos


Would you like one?
I absolutely LOVE to try out new recipes but unfortunately my siblings aren't always happy about this. You see, they LOVE the tried and true desserts such as chocolate chip cookies, coffee toffee bars, and all the "proven to be good" stuff.  I usually save those recipes to take to events and then I do all of my experimenting on the family!  My blog would get pretty boring if all I wrote about is how I made chocolate chip cookies, but here is a recipe that turns some basic ingredients into a yummy dessert.  Who knows, maybe it will even fall into the "tried and true" category.  You decide...


The Ingredients


*Spoiler Alert!* They turned out a bit crunchy!
I'm giving my Dad's teeth a good work-out! =)


This is probably the step where I messed up.
It's hard to concentrate, when you're taking a picture,
 reading the next step, and trying to make sure nothing sticks to the pan...


Chocolate and the "secret" ingredient - butterscotch.


Super happy that I got a picture with her even though she didn't get to try one.  


Here is the recipe.
Sometimes when I run out of time for a writing assignment, or can't think of an ending, I'll end the paper with, "After everything we've just discussed I'll let you, the reader, draw your own conclusions."  So, I'm running out of time to finish this post, guess how it well end? "After everything we've just discussed, I'll let you, the reader, decide if you want to make this or not..." =)


Monday, September 17, 2012

Blackberry Bars

Yum!

Some things are learned the hard way. Sometimes I feel like the only way I learn is the hard way, like the time I accidentally burned down the house. It was bad. The smoke filled the house, and I was coughing as if I had an asthma attack. Also, my ears were ringing from the smoke alarm.

 Fortunately, this recipe is a whole lot easier and calmer. This time, most of the noise around here was from laughter. =)

The Ingredients + Amy, this ingredient is very hard to find.


We had three options for this part: food processor, blender, or manpower.
We decided on woman power. =)


Tea, a drink with ^jam^ and...crust. That will bring us back to...


The recipe! This girl also came up with the "Fourth of July Flag Cake."


 BTW, If you go to acronym finder.com, they actually have my definition of GB2 on there...it's on the very bottom, but at least it's there

(Amy, sorry this took soooo long to post.) =(


Wednesday, September 12, 2012

Buttermilk Pie

Wow!  So pretty!
I think this is the last recipe I have from our visit to the east coast this summer. (Hint! Hint!  That means you should come visit me Grandma, so we can bake!) This recipe was actually a surprise to me. I came back from camp and found a bunch of pie pictures on my sister's camera...but that's great because now I can blog about it!

BTW, I guess I should give some credit to my Mom for taking all these pictures for me while I was away at camp. =)


Grandma in the "pie crust zone" of intense concentration.  Maybe that's why they always turn out so nicely.


It's like a sculptured work of art.


Look out everyone, she's got her rolling pin and crust.  You never know what may happen next...

This is what happens. This is base of the pie which looks a little like mashed potatoes.


Be careful that it doesn't overflow!


My 96-year-old great-grandmother eating a piece of pie.


I know how much grandmothers like to brag about their grand-kids,  so I'd like to take a moment to tell you how incredible my Great-Grandmother Brown is...

Almost everyday she'll sit in her rocking chair and crochet a blanket (baby blankets, sofa throws, etc.) either to give away or to donate to my cousins' school fundraisers, etc.
   
She likes to have some background entertainment going on while she's crocheting so the TV is usually on the Game Show Network to watch her favorite game shows. She tops it off at 8PM with an episode of "Little House on the Prairie" and then goes off to bed at 9PM.  Oh, I almost forgot...she also likes to read and works on word-finds most afternoons too!  When you're 96 you can pretty much do what you want and get away with it, including having a stash of unending M&Ms by your side during the day.

Ingredients:

1 cup granulated sugar
3 tbsp. flour
dash salt
3 egg yolks, beaten
4 tbsp. margarine (softened)
2 cups buttermilk
beaten egg whites  (with mixer)
9 inch unbaked pie shell.

Directions:

Blend the first five ingredients then carefully add the buttermilk with a whisk.

Fold in the beaten egg whites. You can do this with a whisk too.  Pour into unbaked pie shell.

Bake at 450 degrees for 10 minutes, then reduce to 350 degrees for about 35 minutes.

Unless your pie pan is extra large it may not all go in, so be careful!


GB2- God Bless, Go Bake!

Monday, September 10, 2012

Supreme Cheesecake


Would you like to know how this blog got started? I wasn't visited by the ghost of Cooking Past that showed me all of my horrible baking mistakes or told me how this world would be a terrible place without my scrumptious desserts. The world would still be fine without my desserts. It was sort of a random idea that popped into my mother's head as a good way to get me to write more. Well it's worked AND it's been fun along the way!


Wanna know a secret? This recipe calls for walnuts and cinnamon which makes it uniquely different from other cheesecakes... in a good way!!!

I got to bake it in a real cheesecake pan, not one of those 9x9 squares. 
Cheesecake is a sophisticated dessert and it needs a proper pan!


Vanilla?
Vanilla is just a bit too plain for me so I swirled in some strawberry flavoring.


I had some tough competition for dessert that day (a store-bought cheesecake sampler), but tough competition is always welcome!
My Mom's handy-dandy egg separator that she got at a craft fair. I think it likes me!

Some of our guests on Sunday trying out the cheesecake.  They're smiling - that's a good sign!
Notice the band aid.  I got a  bunch of cuts on my
hand trying to make some chocolate curls that probably won't be on the blog anytime soon!


It seems there are a lot of "mini" versions of things out there like mini cheesecakes, mini pancakes, and Mini Mouse.


Adapted from Better Homes and Garden"s Cheesecake Supreme.

 Prep Time: 15-20 min 
 Bake Time 35-45min
CHEESECAKE SUPREME
1-1/2 cups crushed graham crackers
1/4 cup finely chopped walnuts
1/2 teaspoon ground cinnamon 
1/2 cup butter, melted
3 8-ounce packages cream cheese, softened
1 cup sugar
2 tablespoons all-purpose flour
1 teaspoon vanilla
1/4 cup milk
2 eggs and 1 yolk
1/2 teaspoon finely shredded lemon peel or 1/4 tsp lemon juice (optional)
(I swirled in most (6oz.) of an 8oz. container of Yoplait Strawberry yogurt, and it tasted really good!

1. Preheat oven to 375 degrees F. For crust, in a bowl combine crushed graham crackers, walnuts and, if desired, the cinnamon. Stir in melted butter. Press the crumb mixture onto the bottom and about 2 inches up the sides of an 8- or 9-inch springform pan; set aside.

2. For filling, in a large mixing bowl beat cream cheese, the 1 cup sugar, the flour, and vanilla with an electric mixer until combined. Stir in milk until smooth. Stir in eggs and, if desired, lemon peel.

3. Pour filling into crust-lined pan. Bake for 40 to 45 minutes for an 8-inch pan, 35 to 40 minutes for a 9-inch pan, or until a 2-1/2-inch area around the outside edge appears set when gently shaken.

4. Cool in pan on a wire rack for 15 minutes. Using a small sharp knife, loosen the crust from sides of pan; cool for 30 minutes. Remove the sides of the pan; cool cheesecake completely on rack. Cover and chill for at least 4 hours before serving. Makes 12 servings.


Oh, and if you haven't noticed yet, my blogging schedule is really weird. You see it goes like this: finish school and anything else I have to do and then post; therefore I haven't had much time for blogging, but I'm working on it!  Pleeeease cut me some slack, I'm in high school now! =0  

Anyway, it's almost a week later and all of the homemade cheesecake is gone and we've got like 4 pieces left of the store bought...stuff.                                    

GB2- God Bless, Go Bake!!!


( BTW, the Jets lost their first preseason game...the team probably just needed some cheesecake. Hey! I've still got 4 pieces of that store bought stuff. =) )


Wednesday, August 29, 2012

Shoofly Pie


People ate the pie so quickly so unfortunately this is all that
was left to take a picture of - the last piece!
This summer has been filled with many sights and states and foods and friends. The last thing left on my "Grammie would you please make this list" was a shoofly pie! I never really liked the idea of eating something that had a fly in its name but I made an exception with this recipe. News Flash! It contains no flies, but I have a feeling that it attracts flies...thus the name "shoo fly!"


Grandma stays very focused even when you ask her to "smile for the camera" or maybe she was tired from all the picture taking. =)

Everything all mashed up, with our handy, dandy pastry blender.

"Amazing Reaction!"


No, this is not a pumpkin pie, it's a shoofly pie.  It's not very good at shooing away the flies though. =P


Ingredients:
1 cup flour
2/3 cup brown sugar
1 rounded tbsp. Crisco
1 cup molasses
1 egg beaten
3/4 cup hot water
1 tsp. baking soda
9 inch unbaked pie crust


Directions:
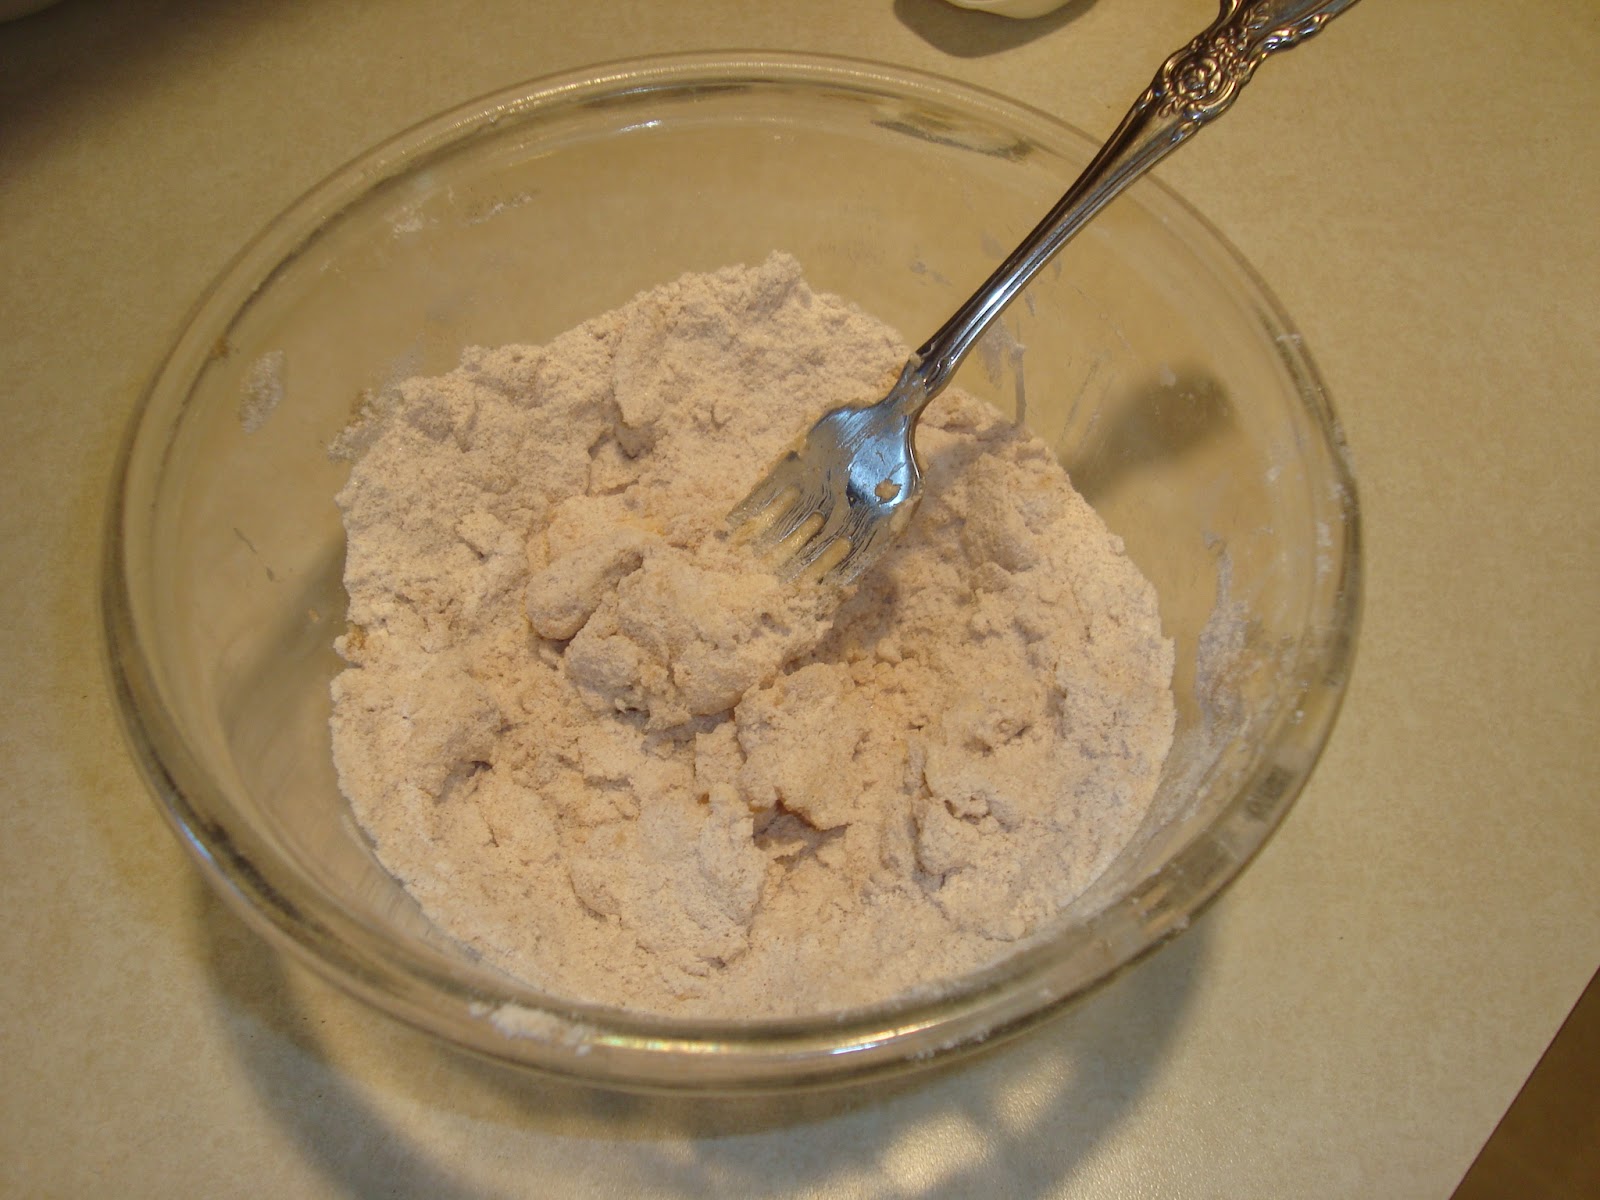
1. In a large bowl add flour, brown sugar, and Crisco and blend with a pastry blender or fork. (And as grandma said, "blend until your arm is tired.") Lay aside 1/2 cup of the crumbs.

2. Pour molasses and whisked egg into the large bowl and stir. In a separate small bowl combine water and baking soda and carefully pour this into the large bowl. After you finish stirring, pour contents of large bowl into pie pan then sprinkle the 1/2 cup crumbs on top.

 3. Bake at 375 degrees for 30 min.


 This little baker went to Aunt Shannon's, this little baker went to Grandma's, and finally this little baker went to Aunt Lori's. After all that, she's back home and baking in her own kitchen with her own potholders, pans, and dishcloths to clean up all of her own messes...

Sorry it took soooo long to post this. School has officially started which ends the late nights of blogging and the sleeping in AND the extra time to bake but I'll see what I can do during the school year...


GB2- God Bless, Go BAKE!!!


Tuesday, August 7, 2012

Peach Pie


While visiting family back in PA, I had the awesome, wonderful, stupendous opportunity to watch and document my Aunt Lori baking her famous peach pie!  Aunt Lori is a good cook and that's a good thing because she has 3 hungry guys in her house to feed.  She's very neat like my Grandma and makes things so perfectly. 


Famous Chambersburg, PA peaches!


When I Googled peach pie there were around 10 blogs solely devoted to coming up with dozens of ways to make peach pie.

We both decided, really quickly, that we would rely on blender power!


I loved baking with my Aunt Lori, but she had a rule, "only pictures of the food please." 
But I managed to get a shot of her hand. =)


1,2,3...wait a second, 4,5.   
It took awhile for my camera to work but at least everyone was smiling.
Aunt Lori's family enjoying delicious peach pie while watching
the tractor pull at the Shippensburg Fair!

Soothing peach pie and thunderous tractors - what a combination!


Ingredients:
10 inch pie crust (unbaked)
1 cup sour cream
2 Tbsp. flour
3/4 cup sugar
1 tsp. salt
1 egg beaten
2 1/2 cup fresh peaches

Combine and mix ingredients until smooth (except peaches). Add peaches to mixture and pour into unbaked pie crust. Bake at 400 degrees for 25 minutes.

Streusel topping
1/2 cup flour
4 Tbsp. butter (soft)
6 Tbsp. sugar
1/2 tsp. cinnamon

Mix with a fork. Put on hot pie. Put a few chopped nuts (walnuts, pecans, or almonds) on top; return to oven for 10 minutes.


There were a lot of us there, so everyone got a small piece.    

While at the fair we won three goldfish, but unfortunately they didn't live very long. We couldn't help but give them silly names like Plunger, Flushy, and T.P. We had fun with them while they were around but sadly they died on the second day. Well maybe they ended up in the ocean, that's where Nemo went...right?


GB2- God Bless, Go BAKE!!!


Related Posts Plugin for WordPress, Blogger...